Friday, April 15, 2011

Epic Windows


I love Gallery Glass.  This wonderful product from Plaid Enterprises can do so many things.  I've worked with it alot over the years and have used it in numerous different applications.  But painting my windows is my all time favorite. 


The windows in my craft room are huge.  Seriously.  8' x 6', to be exact.  And the natural light coming through those windows is the reason why I put my workbench in front of them.  But, when I open the blinds, from across the street there is another building, and it's occupants, staring straight at me while I work.  It didn't make me very happy when I realized it.  Gallery Glass is a simple and beautiful solution to this problem. 


So, I made a little daisy pattern and used Liquid Lead to trace them onto a Leading Blank, all part of the Gallery Glass line!  I made a zillion, at least, of these little daisies, not really knowing what my windows were going to look like at this point, and how many I would need.  It's always a good idea to get all the leading done at the same time because it takes about 6 hours for the Liquid Lead to dry and cure, and be ready for the next step. 


I also made some "castings" out of the Gallery Glass Window Color.  This is so simple and really makes a window look absolutely like it has real stained glass in it.  Here, I squirted Aqua and Lime Green Window Color on a large Leading Blank and used a palette knife to mix a little and flatten it out into one full sheet.  This also takes several hours to dry.  I put my sheets, and I made several in different color combinations, on the floor in the craft room right in front of the windows overnight and was ready to go.


The next day, I used some Snow White for the petals and Sunny Yellow and a new color, Gilded Oak, to paint in my daisies. 

Then I got to work on the windows.  I took some Redi-Lead strips, also from the Gallery Glass line, and sectioned things off the way I wanted them.  I measured and divided like Math was my favorite thing to do.  (it's really not)  I got the windows "leaded" in about 4 hours!  Whew!


I applied the dry "casting" sheets to the window and cut them to fit.  Easy Peasy! 


And where I cut the sheet a little short, I filled in with Window Color straight from the bottle.  I applied the daisies into the design and used my absolute favorite, Crystal Clear Window Color, to fill in the sections surrounding the daisies.  Applying Crystal Clear straight from the bottle, I squirt and swirl until the dry effect is something like bubbly-glass!  This is so beautiful when the street lights come on outside the window!  


I also used a little Gallery Glass Etching Medium, applied with a large stencil brush, to add to the design.  I did this on the upper portion of the window that will likely be covered by the blind most of the time. 


And here is the finished window!  I'm so glad to be finished with this project, you wouldn't believe.  I can finally put my workbench back in place and get back to makin' the paint fly from my brushes! 
What do you think?

Monday, March 28, 2011

Cubby, the Pirate

This is Cubby.  He's my "almost" three year old grandson.  And I miss him like crazy.  Cubby is not the name he was given when he was born.  I was talking to him the other day on the phone, and he told me he had a new name.  I said, "a new name"?, "yes", he said, "my new name is Cubby, because I am a pirate".  So, I now call him Cubby, because he is a pirate! 
My daughter had to tell me about the new show he's been watching on Disney Junior called Jake and the Neverland Pirates.  He just loves it.  So, I looked the show up and had a great idea for my favorite little guy's birthday in a little over a month.  I was in the middle of getting ready to snazzy-up the windows in the craft room but cleaned that project right off my work bench and got to work!
I printed off a couple of colored pictures of Jake and his friend Cubby, and a silly bird named Scully, who I loved immediately.  Then I pulled out my paint chips of all my Folk Art Acrylic Colors, and I got together a pretty nice color palette to make my new friends come to life.  I grabbed my paints and brushes and got to work!

I had three 8"x10" canvas boards stashed in the craft room surfaces pile and thought it would be a cute idea to stripe lightly behind the characters as the only background.  To me, it looked a little nautical, and with the characters being my main focus of the projects, I didn't want it to be too busy.  I striped Cubby's background horizontally, and the other two canvases for Jake and Scully I striped vertically.  I used my all time favorite color, Folk Art Light Blue, to lightly dry brush the color on in between the tape lines. 

I printed the images from Disney Junior's site where they have coloring book pages for kids to print off and color.  My grandson and I have been using this sight for all of his favorite characters since he could hold a crayon.  We've done every single character from Cars, Finding Nemo, and Monsters, Inc.  (just a few of our favorites)  I cut the image out loosely, and centered it on the canvas, and placed a sheet of transfer paper underneath.  I traced the lines and had a perfect image to fill in. 

I painted the image using small brushes and tried to "color in the lines" as best as I could.  I thought it looked a little flat when I was finished, so I went in and shaded and highlighted where necessary.  This took several trips back to the computer where I could view full episodes of this adorable cartoon, and reference the characters again, and again! 
I just used a wet brush and side loaded into the shade color I wanted to use.  I followed the lines and added shading where I liked it best.  Then I outlined it all in Folk Art Licorice that I thinned down with a bit of water. 

Here they all are!  I think "Cubby" will be very happy to get these in the mailbox this week.  I wish I could deliver them myself, but this will have to do for now. 

Friday, March 18, 2011

Simple Puzzle Project

My sister is a Scottie Dog fan.  A big fan.  She has a collection of these adorable dogs that she's been adding to for years.  It always makes me smile when I see them, some are beautiful, some are old, some are wearable, but all of them bring a smile to your face no matter how grumpy a day it is. 
She received, as a gift, a wonderful wood scottie dog, cut into several large puzzle pieces.  Adorable.  Very clever.  And, a definite original for her collection. 

Of course, I had to paint him. 

I painted the large dog with Folk Art Wrought Iron, and the little guy with Folk Art Licorice.  I painted the base Apple Red and then dotted it with Wicker White.  Easy enough.  But, I wanted to make him look like he had fur and I knew just how to do it! 


I used my rake brush, a little water, and some Folk Art Battleship Gray.  I love this rake brush.  The bristles, at the end, are clipped far apart, so when you just use the tip of the bristles and drag them along your surface, you get these great detail brush strokes.  It took quite awhile, I'll admit, to paint fur on both sides and the outer edges, but I think it was worth it! 


I sealed him and his little buddy with Mod Podge Gloss Sealer and left him to cure for a bit so the pieces didn't glue themselves together while he dried, and glued a little red bow to his "good" side.  He's ready to be shipped back home to my sister now.  I'll be a little sad to see him go.  He's been sitting on the windowsill in my craft room all week.....making me smile. 

Friday, March 11, 2011

Ode to Mom's Sewing Box

My mom has always been a wonder at sewing.  She's good at so many other  things, too, truly she is.   But when I think about all the things she does so well, it's in her sewing creations that she is truly gifted and talented.  She made everything when we were growing up;  my sisters' and my clothes,  triple the amount of Barbie clothes, a dozen or more chorus dresses, Halloween costumes, and even a Wrestlerette Uniform (please, don't ask). 
Her sewing box has everything.  Seriously.  Everything.  And I missed it dearly when I moved out some 27 years ago.  I've missed it ever since.  Over the years she has given me several sewing boxes.  Complete with needles, thread in every color I might need, pins, a pin cushion, even scissors.  For some reason, I never seem to have that box around when I need it.  I've been blessed to be able to run over to Mom's house when I needed something up until now.  Now she's 2,200 miles away, back in Georgia. 
I got a package in the mail the other day from Mom.  Inside were an unopened box of 30 needles, complete with a handy-dandy threader, about 10 different colors of thread, pins, a pin cushion, and two pair of scissors.  She knows me so well. 
So, Mom, this is one's for you.  I will never be without it again.  On my honor as your daughter, my sewing box will be forever ready for any sewing emergency. 

Wednesday, March 9, 2011

The Gift of Gin

This is Gin.  (pronounced "geen") Gin Ichimaru from the Japanese Anime series, Bleach.  My youngest son loves this show.  Obsessed would be putting it lightly.  So obsessed he's taken to watching the Japanese episodes on YouTube with subtitles. 
I knew Gin would be the perfect gift for him, as he has just recently moved into his first place and doesn't have alot of wall decor.  Gin, I knew, was going to give me some trouble.  I have done alot of painting in my life.  I started as a young girl, painting for the love of it, mostly, and then worked at my dream job of "painting on demand" for many years.  But I have never tried this form in all that time.  Anime.  I was a little unsure of myself.  
I went online first.  Found some images I liked and thought were do-able for a beginner like me.  I went into my surface stash and found two 8" x 8", gallery wrapped canvases that I thought would be easy for hanging and got started.  Of course, I had to grab my Folk Art, too.  With their large selection, matching colors is hassle free.

After transferring my pattern, it was easy as coloring in the design. 

And outlining. 

The second canvas wasn't as simple.  This one was going to have a complicated background.  So, I grabbed some Folk Art Blending Gel and a trio of greens and blues and a bit of Wicker White.  I stroked the Blending Gel thinly around the main body of Gin and all over the background area.  Then, I just patted the color in where I wanted it to go, a little thicker with the application this time.  
I used a fan brush to give it a variegated look.  I wiped my brush of paint with each stroke so I didn't muddy the colors and it worked!  I was a little surprised myself. 

Then it was back to coloring in the pattern.  Easy-Peasy.  I sealed both canvases with Mod Podge Matte Finish.  Best sealer in the world, I do believe.  It's durable, easy to apply, and it will last. 

I don't know why I was so worried about trying something new.  I usually am.  And, when all is said and done, I'm usually pleasantly surprised at how easy it was to do.  This was also a gift from the heart, and those kinds of projects seem to take shape all their own and come out just the way you imagined them.  I miss seeing my son every day.  I miss laughing with him at the dinner table and driving with him in the car, listening to rap music that no mother should have to listen to but I enjoy!  I miss watching Bleach with him, even though I don't know every character by name or what their particular "special power" is, he was always eager to fill me in.  This is my way of giving him those little pieces of me that we don't share anymore on a daily basis.  Because I know he misses me, too. 


Friday, March 4, 2011

Michelangelo for a Day

While I was still back in Georgia, packing, and getting everything ready for the "big move", my Hunnie was here, in California, looking for the perfect place for us.  Everytime he would find someplace he loved, he would send me the web page and I would check it out.  I loved our new condo the first time I saw the pictures of it online.  I really, really wanted it.  But he had a place closer to the beach in mind.  So, with my fingers crossed for good luck, I told him to keep looking til he found the place that made us both happy.  Being the wonderful man that he is, he picked this place! 

He also had one rather large request.  He wanted me to paint the ceiling in the dining room with a blue sky and clouds. 
No problem.  Except that I'm a bit vertically challenged, and even with a ladder, this would be a hard job.  But one day while he was at work, I figured out the perfect solution and got to work on this little surprise for him. 
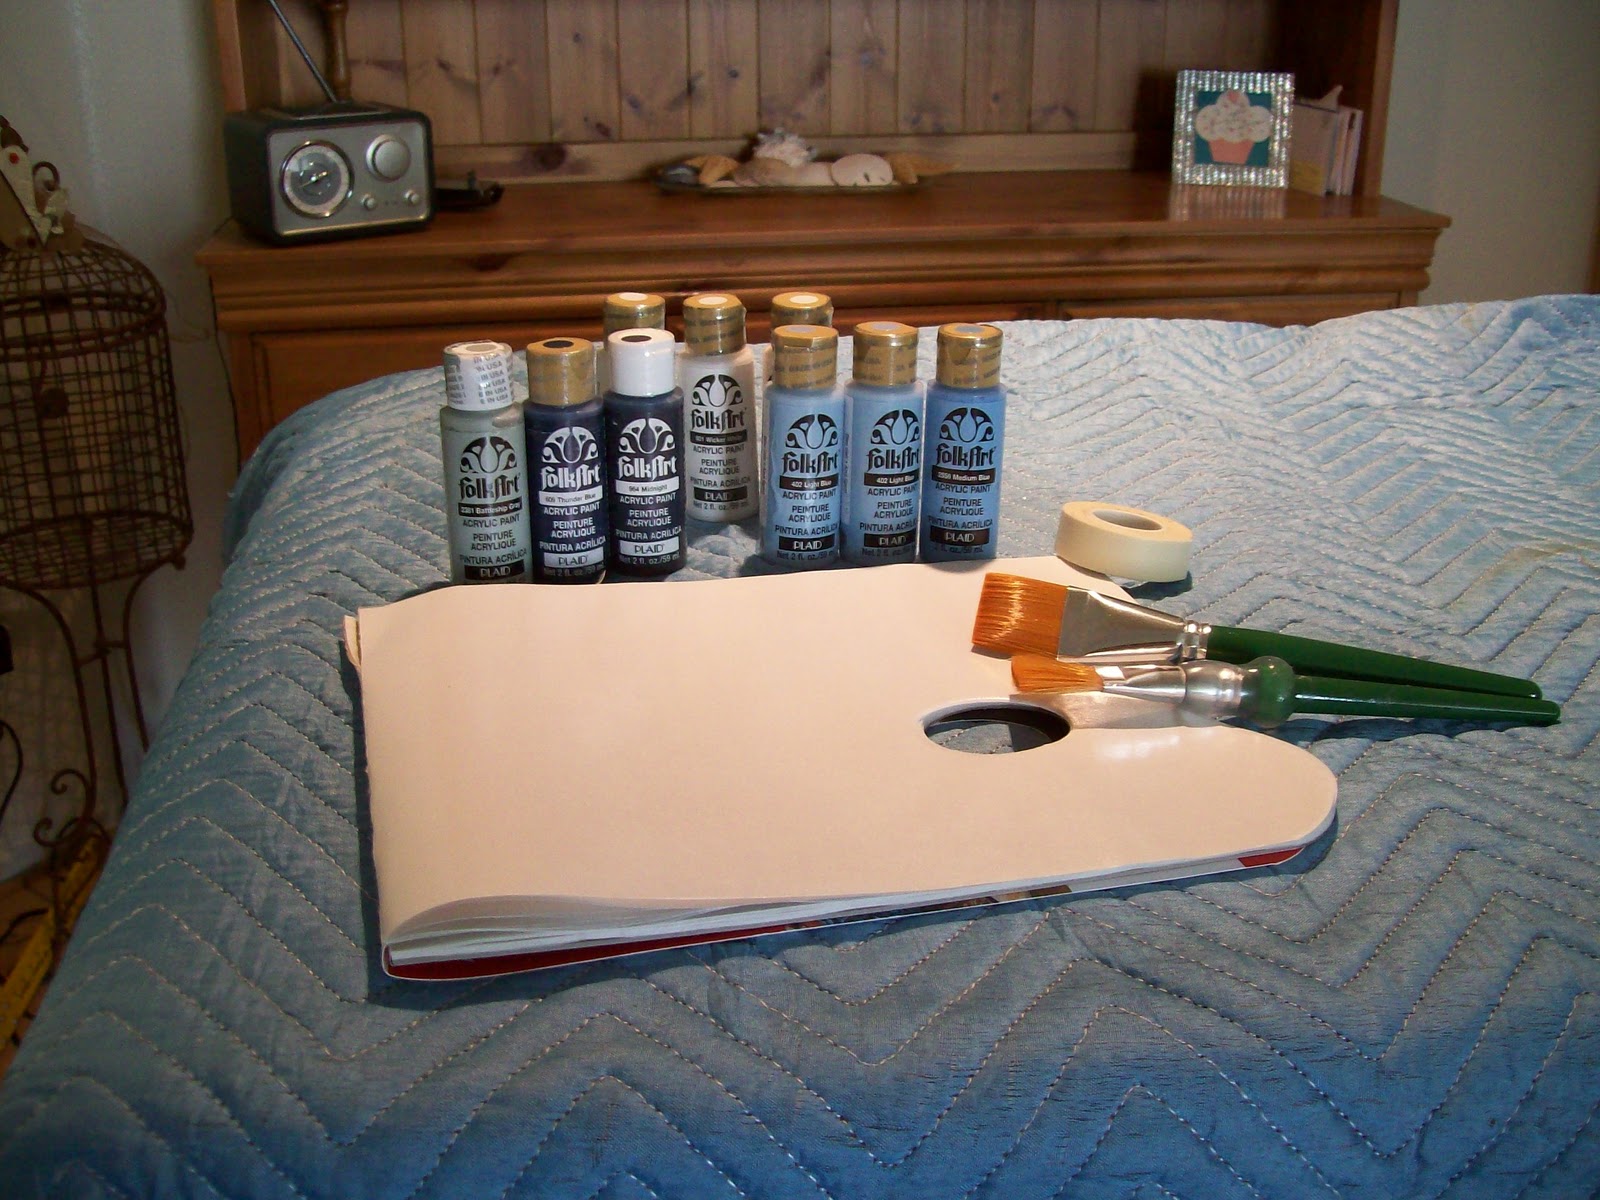
Once again, I gathered my supplies.  A little Folk Art Acrylic Paint, some large paint brushes, masking tape to keep from ruining the fire sprinkler and light fixture, and....my wonderful workbench!  I just covered it to keep from flinging paint on it and stood right on top of it to reach the ceiling!  Much better than a ladder, too, since I had some wiggle room to keep from falling off! 
It wasn't one of those "quick and easy" projects that we all love to do, but it only took me about two hours to fill the ceiling with blue skies.  To make it easy on myself, I double loaded my brush with Folk Art Light Blue and Wicker White and slip-slapped the paint on.  I would dip into Medium Blue every once in a while, to mix it up a bit, also. 

I really love the result.  It's just beautiful, from every angle of the living room and kitchen!  But of course, it needed the clouds. 

I have always found painting clouds to be fun and simple.  But I've never painted them quite this large before, nor have I ever had to paint them above my head!  Up for the challenge, I grabbed some more Folk Art and different brushes and set to work. 

I painted just one cloud at a time.  And, after every few minutes, jumped down off my workbench and looked at each cloud from several angles to make sure I had my spacing right.  This was hard, I won't fib and tell you it wasn't, but as I painted each cloud up in that ceiling, I got more and more excited.  My neck hurt from looking straight up all day, my legs hurt from jumping up and down from that workbench, and I was getting the impression that I'm just not as young as I used to be....hmmm. 

I finally finished it, though.  With just an hour left before Hunnie came through the door from work.  Clean up is always simple with Folk Art, just some soap and water and my brushes were good as new. 

Here's the end result.  I hope you like it as much as we do. 

Monday, February 28, 2011

The Workbench Transformation

I was just so excited to get started on the workbench transformation as soon as I got the Martha Stewart paint home from Home Depot.  I had an image starting in my head how I wanted it to look, and just how I was going to do it. 
So, I made a drop cloth out of the extra moving blankets we had after the big move to California, and got to work. 

It took alot of sanding.  Hunnie originally made this bench to fit inside a closet at a Doctor's office to hold heavy equipment.  It would be hidden, so it wasn't exactly "finished".  There were lots of places that would have been impossible to paint properly without lots of sanding.  I wasn't thrilled with the amount of time it took, but I was determined......so I used sanding sponges first, sanding paper second, and then I was ready to go!
This took awhile.  Quite awhile, actually.  But I've been known to be a little stubborn, (really?) and I wasn't going to let this project get the best of me.....

When I was done painting, I sanded again.  I sanded the corners and edges down to the wood with a purpose in mind.
I love the distressed look on most things wood.  It just pleases me.  So, I mixed a little of Plaid's Glazing Medium into some Asphaltum Folk Art Artists' Pigment color, worked with small areas of the bench, and worked quickly, to give it a nice distressed look. 

I used a clean rag to wipe the color away and left it only where I wanted it to be.  When it was dry, I rubbed the entire surface with a piece of brown paper bag I ripped into workable-sized pieces and wrinkled up.  This left a nice, smooth surface for the painting I wanted to decorate the table with.

Then I gathered supplies of some of my favorite Folk Art paints and brushes and got to work again! 

This is what I came up with to decorate the left corner of the table.  I also painted a swag of the same design in the center, along the top edge of the table. 
Hunnie has ordered a piece of glass to fit the top of the table, so I can keep the painting "fresh as a daisy", and craft away to my heart's content on it every day!  One last pic......

Here it is!  In front of the big, beautiful windows in the craft room.  I'm so happy with the way it turned out! Those windows let in so much natural light all day long, I love it.  But I've been wondering how they would look with a little Gallery Glass design added to them....hmmm.....